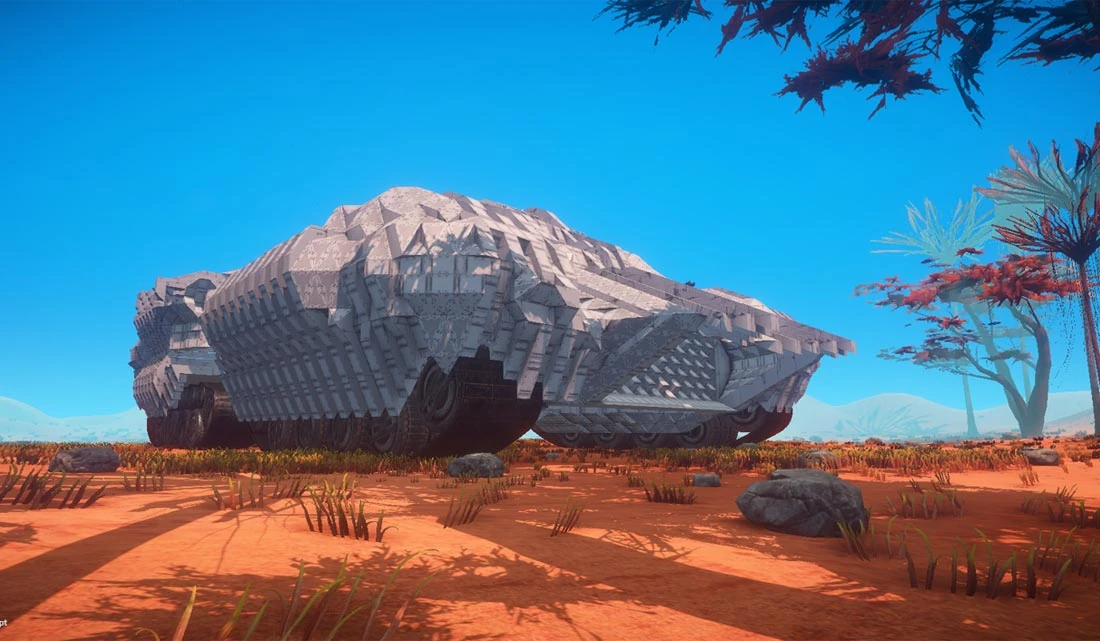
A sand crawler. Everything you need to survive is located inside.
Vehicles play a major role in the game Planet Nomads. They are used primarily as a method of transport for both the player and cargo but can also be used in many other ways. Instead of building a fortified base in which you can survive, you can live a nomadic lifestyle. Constantly travelling in a mobile base or crawler.
Vehicles are built out of the same blocks as bases.
A tutorial can be found on the Steam Guides, but it may be outdated.
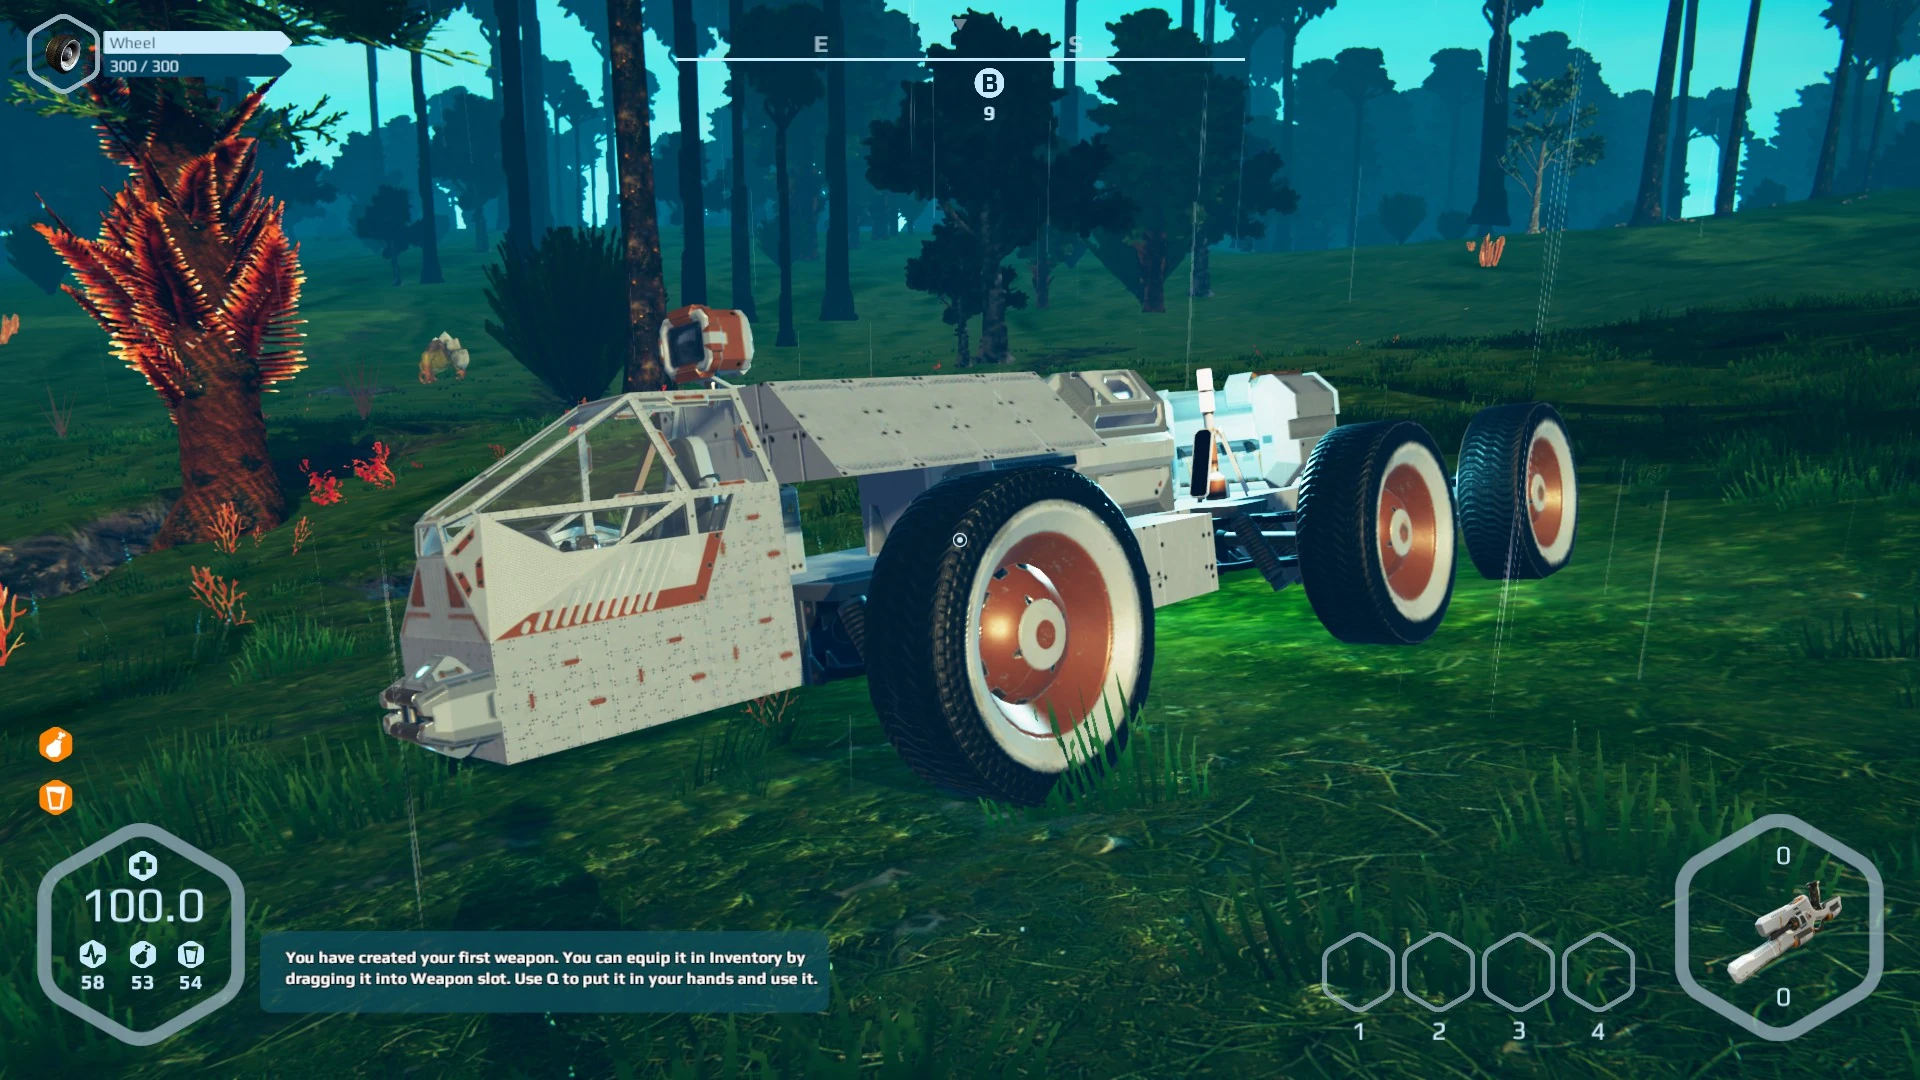
A fairly basic vehicle but with some utilities on the back and a beacon to track it. Still a work in progress
Building your first vehicle
This is a quick guide for making a basic vehicle tested on the current version:
You will need/the materials for
- 1 cabin
- 1 or 2 jacks
- 4 suspension pieces
- 4 wheels, either the original flat tyre design or the newer, smaller off-road tyres (good for climbing slopes)
- 1 battery rack
- Or or more Battery Cells (made in Medium 3D Printer) or a Generator and biomass
- 4 or more armour blocks (optional)
When placing blocks and machines, they will first be added as a metal frame which then has to be welded (T) at which point the required materials for the item will be used. Use the multitool on the items to see if they have been completed, it will show as number/number such as 300/300 and a list of resources required will be shown top left with the presently unavailable resources (not made yet) in red. The former and latter number must match to use the component (i.e. it is 100% complete). The following should be assumed as place and weld. Note that adding a lot of weight in terms of units and blocks will cause the vehicle to sink lower (hence I used 6 wheels on an elongated design).
- Place and weld the jack on a flat surface (preferably floor piece) and either place 4 basic armour blocks on top (better) or place the cabin on top. The jack will be removed later as it is only to suspend the arrangement when building. A 4-block back is probably bare minimum and I recommend making it longer to accommodate transportable utilities and to better space out the front and rear wheel sets.
- Place and the cabin in front of or on top of the armour pieces quad, you will need to leave enough room for a 2x1 (grid size) battery rack
- Place the battery rack behind the cabin
- Place the suspension pieces on the sides of the armour blocks with two lined up at the front and two at the rear in a car arrangement. In frame form, the suspension will resemble train buffers pointing straight out at 90 degrees. This will change when the weight of the springs and wheels are added. Weld these to complete them
- Add the wheels onto the ends of the suspension (it is difficult to position) and weld fully
- Insert the Battery Cells into the battery rack and turn it then link the power to all the wheels (see Linking Power) or place a generator and add biomass
- Remove the jack to release the vehicle
Steering and Torque
In Buildview (press Tabs), hold C when hovering over a suitable object such as generator, machine or wheels to open the configuration wheel menu. The bottom icon sets the steering, off by default. Click to change mode:
The vehicles left wheel needs to be set to Opposite steering and the right one to Steering.
Next check the wheels direction. In Buildview, the direction is indicated by arrows around the wheels. If the wheels' direction doesn't match the vehicle will not move or turn on the spot.
The wheels can be set to Torque or Speed priority, the former is to help climb slopes, hills and mountains. Just careful the vehicle doesn't tip over when scaling sheer or uneven terrain.
Hold E when in the correct position to enter the vehicle cabin. If it is set up correctly the vehicle should be controllable using the WSAD keys (forward, reverse, turn wheels left and right respectively). If the car spins on its axis one of the steering wheels is set incorrectly (it takes some experimentation).
Checklist
Not moving or steering? Check:
- The generator or batteries are connected to the wheels
- The wheels are set to go the right direction
- The wheel turning matched input (A, D) correctly or you'll be turning in circles
- The jack is removed and there's no obstacles in front of or underneath the vehicle
- If using batteries, that the cells are inserted. If using a generator, that it's turned on and contains fuel
- That the wheels are set to On
Mobile Base
The vehicle can be extended using armour blocks, also for cover and aesthetics. Beacons can be added to the vehicle to track the location (in case you lose track of it, make sure the beacon marker is on) and utilities such as stasis chambers, containers (storage), 3D printers and more can be added (on top of the armour blocks) to make it like a mobile base.
The basic generator uses biomass for fuel but when you travel to the desert or snow biomes you can collect uranium ore, refine it and build a uranium generator for longer-lasting vehicle power source.
The generator can also power more items at once.--Egrphj (talk) 22:58, 27 July 2017 (UTC) added tutorial and additional photo